How to Fix Black Screen in OBS Studio on Windows 10
How to Fix Black Screen in OBS Studio on Windows 10 - Hello everyone, this time I will share how to Overcome OBS Black Screen / Black Screen. OBS stands for Open Broadcaster Software. In short, OBS is free and open-source software that is used to record activities on the computer screen and also allows us to live stream.
 |
| How to Fix Black Screen in OBS Studio on Windows 10 |
How to Fix Black Screen in OBS Studio on Windows 10
How to Fix OBS Black Screen Easily
However, many people who first try this application often find an error, where the computer screen we will record is not detected, resulting in a black screen or black screen. To overcome this, you can follow the simple steps below:
1. Open the Start Menu, then search and select Graphics Settings.
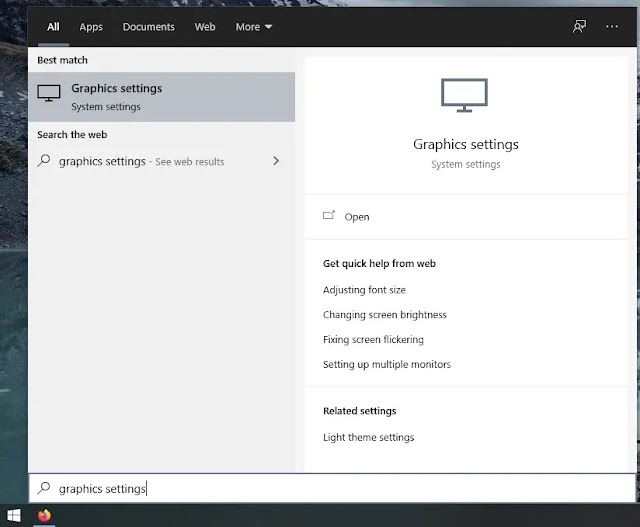 |
| Graphic Settings |
2. In the Graphics Performance Preference section, select browse, point to the folder where you installed this OBS software, and select the Obs.exe file (e.g., C:\Program Files\obs-software\bin\64\obs64.exe)
 |
| obs64.exe |
3. The OBS icon will appear, and then you select Options.
 |
| Options |
4. After you click Options, a Graphics Preference dialog box will appear like this. You can click Power Saving. However, if the problem still can't be fixed, you can try clicking High Performance. Then click Save.
 |
| Graphic preference |
5. Open your OBS software, and try Display Capture. It should be working now!
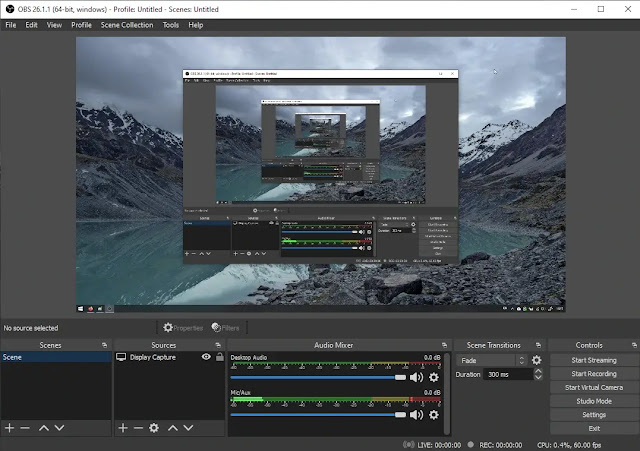 |
| Display Capture OBS Studio |
If you are still confused or do not understand, you can watch the tutorial video below.
That's all about How to Fix Black Screen in OBS Studio on Windows 10. I hope this tutorial can be helpful for you, especially those who are struggling with this black screen problem in OBS. Thank you for reading.